By Chris Faubel, MD —
Indications
- Bicipital tenosynovitis
- ICD-9 code: 726.12 “bicipital tenosynovitis”
- ICD-10 code: M75.2 “bicipital tendinitis”
CPT code: 20550
Materials Needed
- Pen – clicking type
- Gloves – non-sterile
- Alcohol swabs
- Band-aid
- 1-ml syringe with 25-gauge 1.5″ needle (depending on body habitus)
- Injectate:
- 0.5-ml of 40mg/ml Depo-Medrol or Kenalog
- 0.5-ml of 1% lidocaine
- 1-ml 1% lidocaine and tuberculin (Tb) syringe if numbing the skin
Technique / Procedure Steps
- Always start with informed consent from the patient, and then a time-out to verify correct patient and injection site.
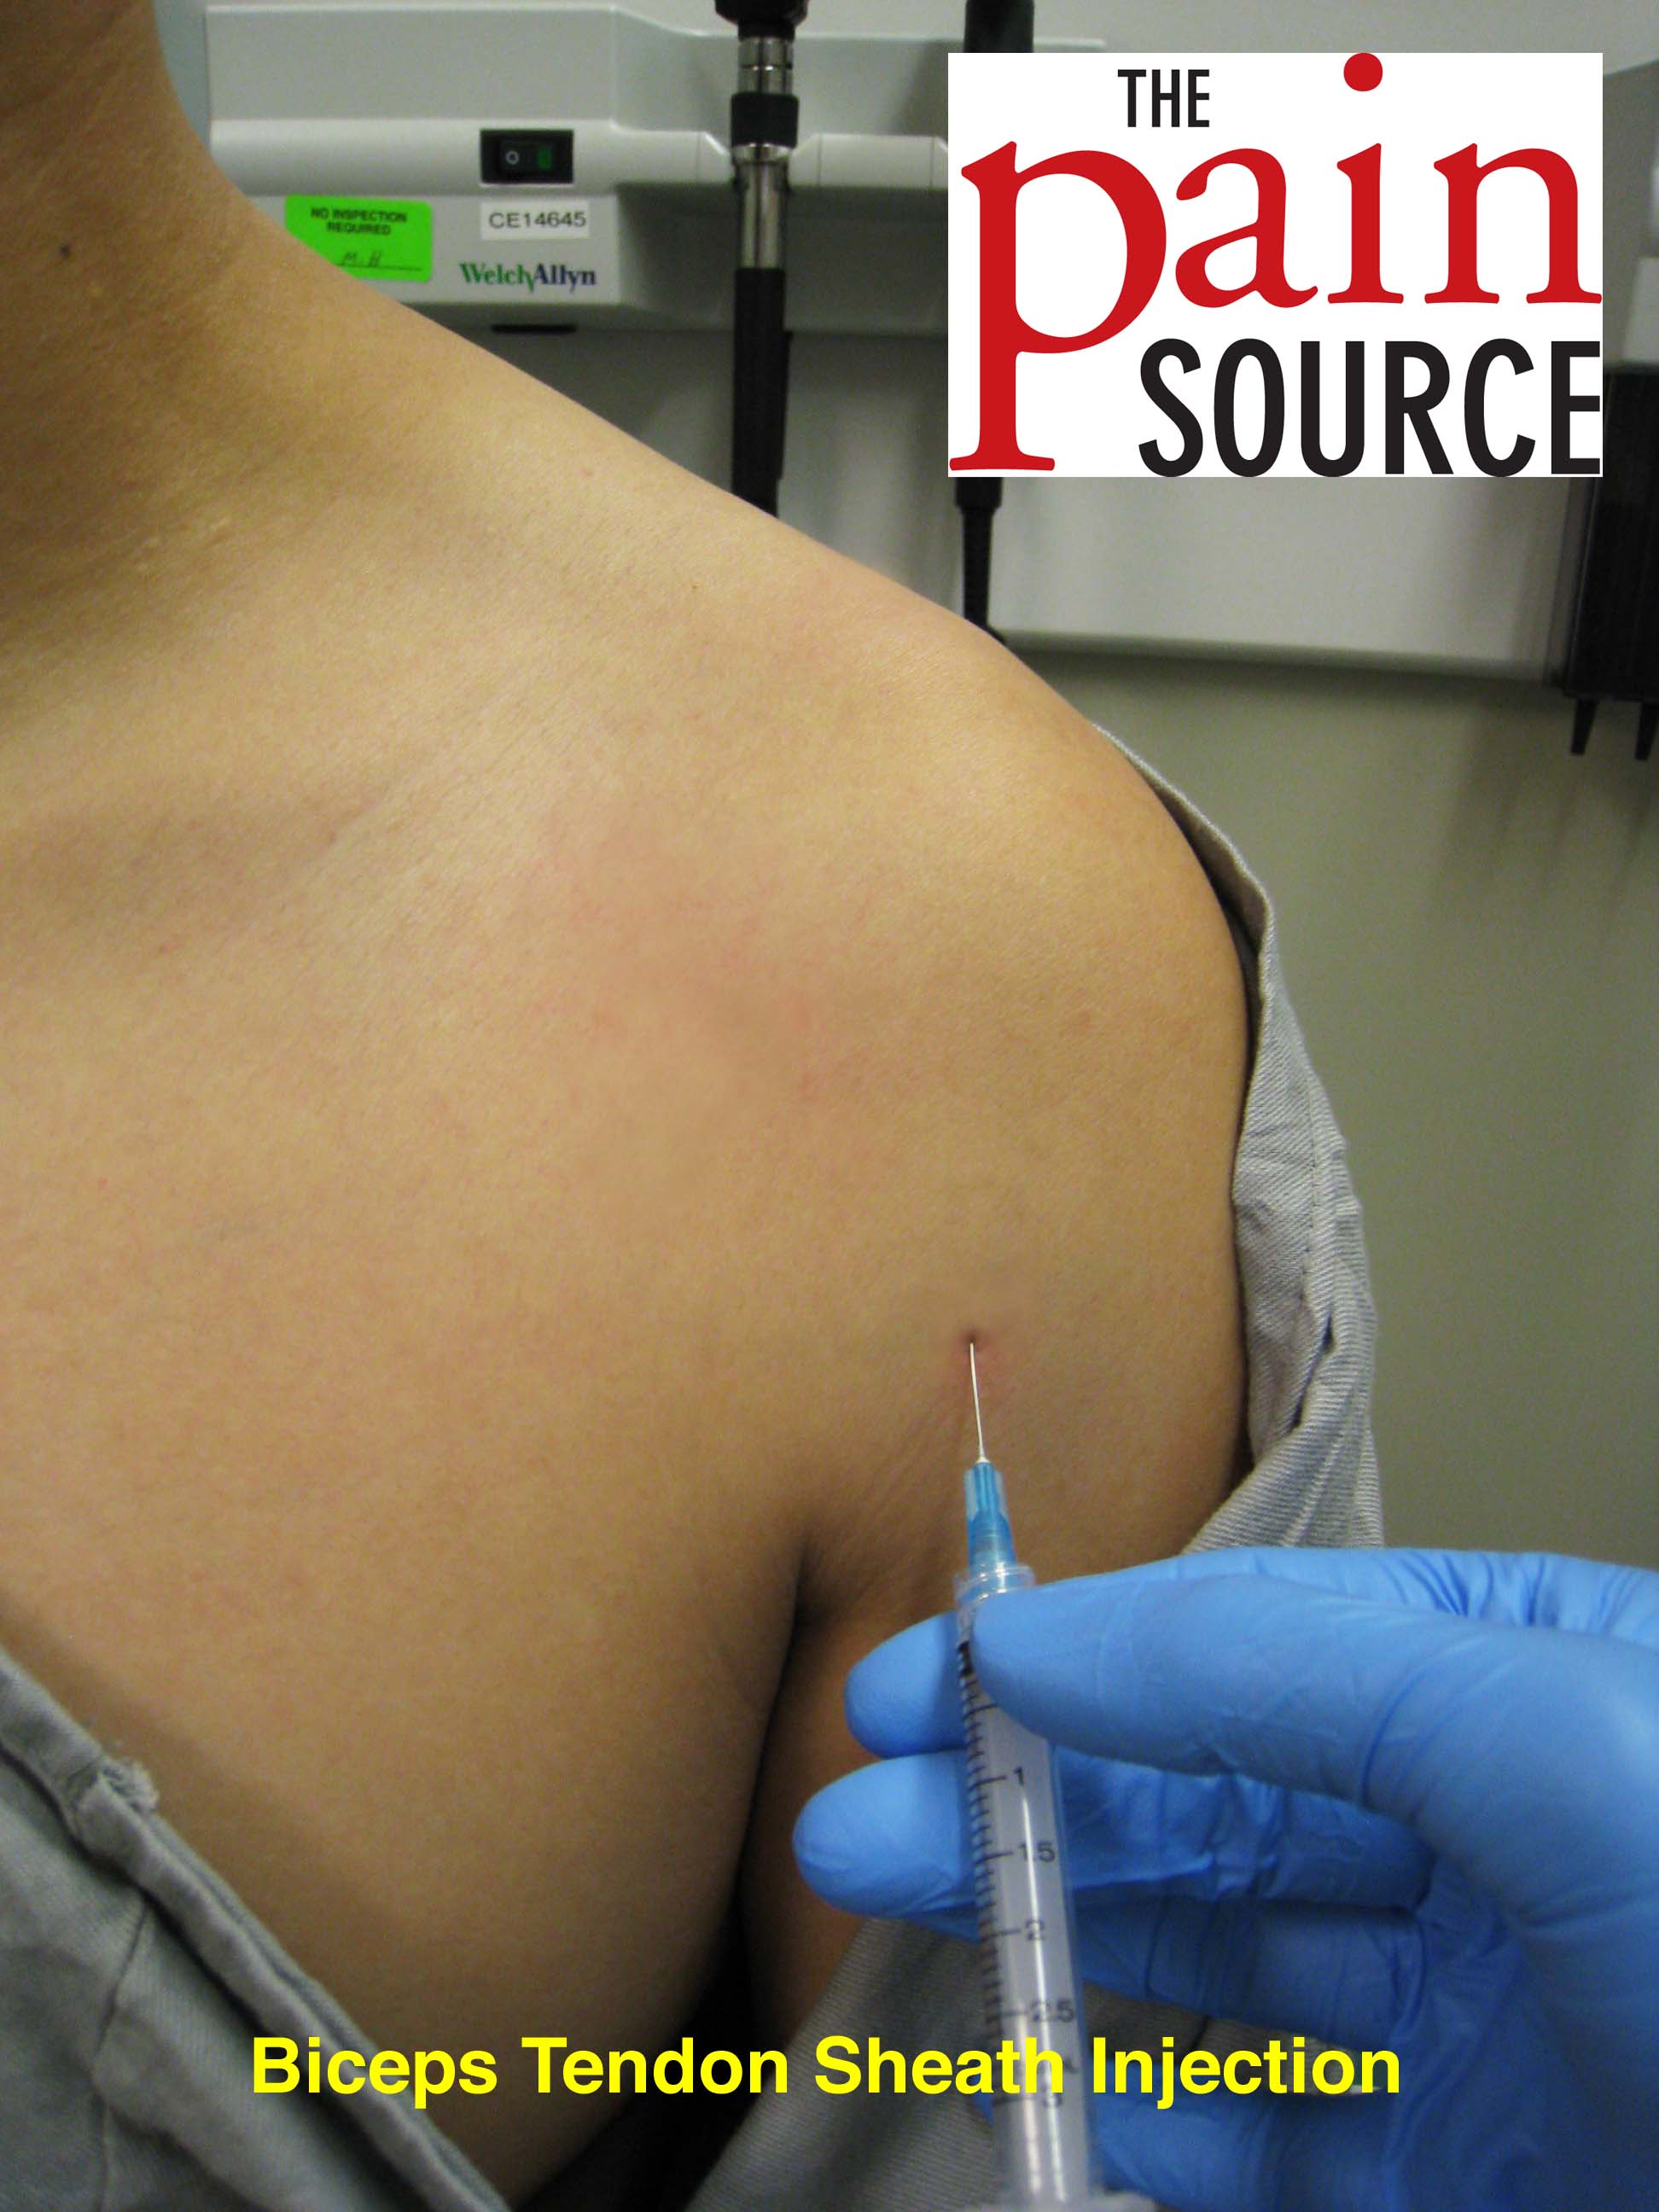
- Mark the injection site with the pen tip in order to leave an impression in the skin — Point of maximal tenderness in bicipital groove.
- Clean the skin thoroughly with as many alcohol swabs as needed (usually only one is needed).
- Patient position: Lying supine with arm supinated
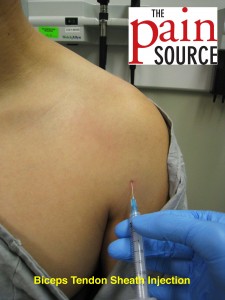
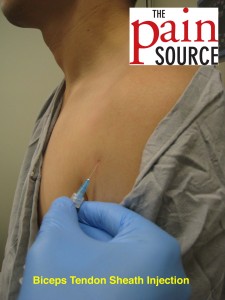
- With the 25G needle/syringe, enter the skin going cephalad at a 20-30-degree angle. If you enter tough, gritty tissue (biceps tendon), pull back a mm or two and redirect at a more shallow angle to get under the tendon sheath (of the long head of the biceps).
- Aspirate to make sure you’re not in any vessel.
- After negative aspiration, inject the full contents of the syringe. Redirect or withdraw the needle slightly if it isn’t flowing easily (DO NOT INJECT UNDER PRESSURE — YOU’RE LIKELY IN THE ACTUAL BICEPS TENDON)
- Withdraw the needle and apply band-aid.
Tips
- Finding the injection site
- Point of maximal tenderness in bicipital groove (over the biceps tendon).
- Can find the bicipital groove easier by internally and externally rotating the arm (with the elbow at 90).
- Advance the needle cephalad at a 20-30-degree angle.
- Point of maximal tenderness in bicipital groove (over the biceps tendon).
- Numbing the skin
- Find out all about “Taking the Sting Out” (of injections) by going here.
- Since I use a small 25G needle, most patients have no problem with the injection and don’t need any extra lidocaine skin wheal or freezing spray.
- I tell them numbing the skin with lidocaine may likely hurt more than the actual injection.
- Procedure for a “pain free” injection
- Fill a 27G 1/2″ tuberculin syringe with 1-ml of 1% lidocaine.
- Use ethyl chloride spray to “numb” the skin over the injection site; then quickly create the skin wheal of lidocaine.
- Insert the tip of the needle just below the surface of the skin, almost at a parallel angle. Then inject about 0.25-ml to create the skin wheal.
- Redirect the needle in the direction that your 25G needle will go, and inject the rest of the Tb syringe along the entire length of the needle.
- After the injection
- Have the patient forward flex and int/ext rotate the arm for a few seconds while you throw away supplies.
- Then, re-palpate the bicipital groove and have them repeat the previously painful movements so they can see the immediate results of the lidocaine.
- Explain to the patient that the lidocaine will wear off in an hour or so, and that they will be back to their normal pain until the steroids start kicking in (anywhere from 1-7 days).
- May also ask the patient to not do much activity with that arm for 12-24 hours





Nice!