Cervical Epidural Steroid Injections
CPT (billing) codes: use BOTH
- 62310 (Cervical and thoracic interlaminar ESI)
- 77003 (Fluoroscopic guidance for localization of needle – spinal)
- Don’t forget your J-codes for the corticosteroids and contrast.
Cervical epidural steroid injections are an interventional pain procedure that can be highly effective at relieving axial neck pain and cervical radicular pain.
With the interlaminar approach, you avoid the risk of an inadvertent intra-arterial injection of a particulate corticosteroid, with the rare adverse result being a cerebral, brainstem, or spinal cord infarction. But this interlaminar approach also has an obvious risk of intrathecal injection, or even worse, an accidental spinal cord puncture if the needle goes too far anteriorly.
Many physicians try to avoid going too far anterior by using a lateral fluoroscopic view of the lower cervical spine. The problem with this view is that the shoulders are nearly always in the way, and this make visualization of the advancing needle tip and target depth difficult.
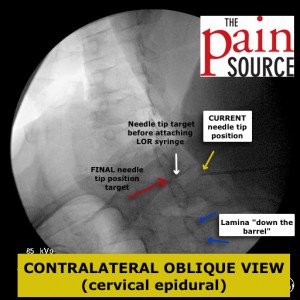
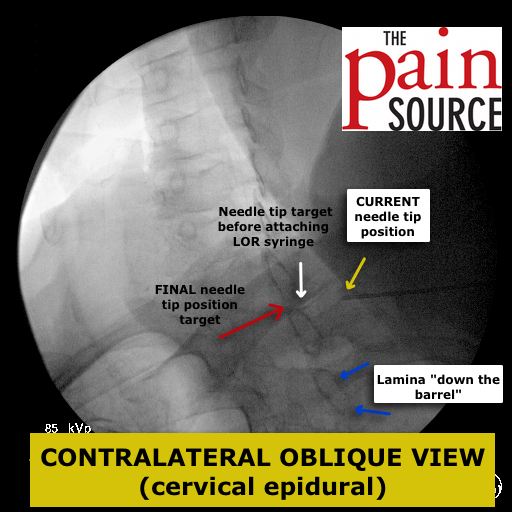
SOLUTION: Contralateral Oblique View
- When I say “contralateral”, I am referring to the C-arm intensifier (above the patient).
- Example: If entering the skin slightly lateral to the midline (on the RIGHT), and targeting a right-sided paramedian site, the C-arm intensifier needs to be rotated to the LEFT side (contralateral to the target side).
- Important: It is imperative that the rotation is 40-50 degrees. Anything less than that and the needle will incorrectly appear dangerously past the lamina line. This will just scare you, and frustrate you until you give up on this newer technique.
Step-by-Step (click on the below images to see larger pics)
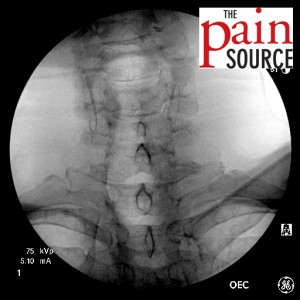
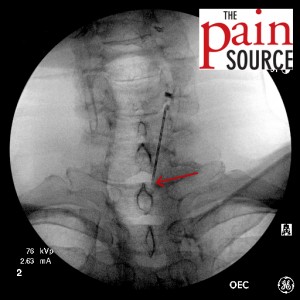
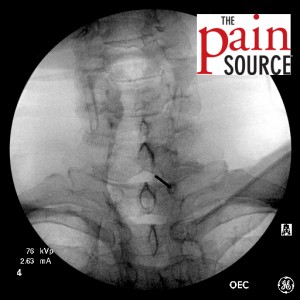
- Insert the 18-gauge, 3.5-inch Tuohy needle after using a 27-gauge, 1.25-inch needle to anesthetize the skin with 2-4ml lidocaine.
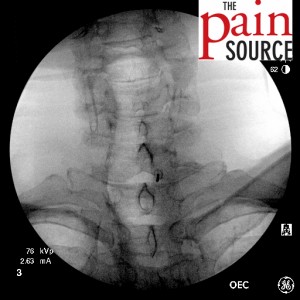
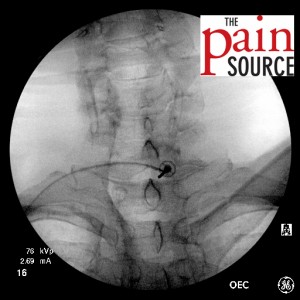
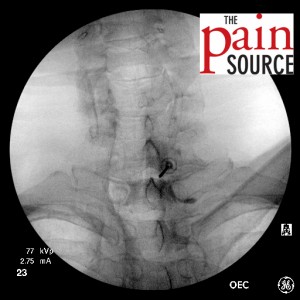
- Adjust the Tuohy needle to get it in line with the target site.
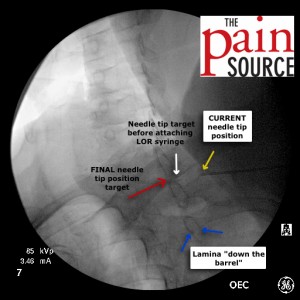
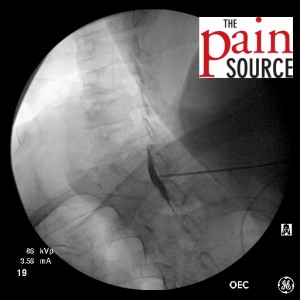
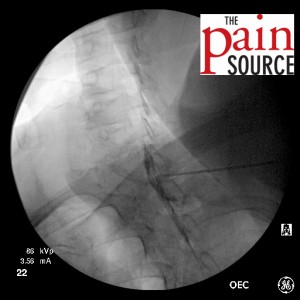
- Once you are on target with the AP view, switch to a contralateral oblique view of 40-45 degrees to gauge your needle depth. In this case, the intensifier was rotated to the left so I’m looking “down the barrel” of the right-sided lamina.
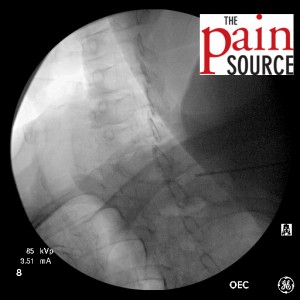
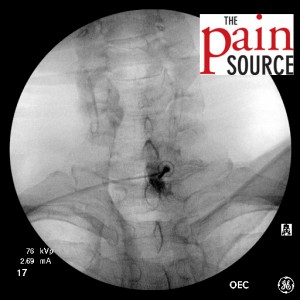
- Needle advanced and re-imaged.
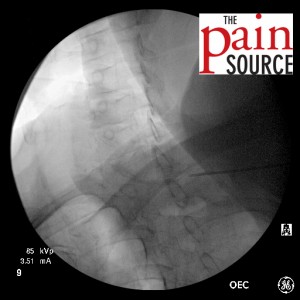
- Needle advanced further and re-imaged.
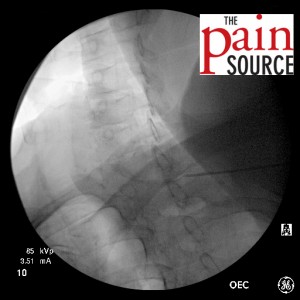
- Needle advanced further and re-imaged.
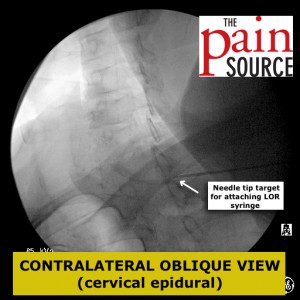
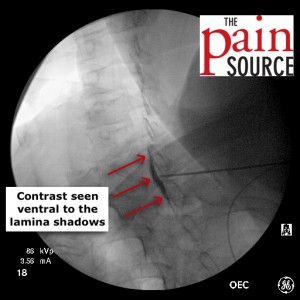
- Finally, the depth at which to attach the loss-of-resistance syringe has been reached. I use a plain 5cc plastic syringe with a luer-lock (no specially designed loss of resistance syringe is needed, as this gives me an even better LOR feel with saline and air).
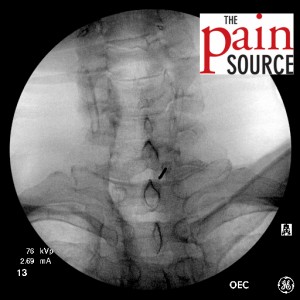
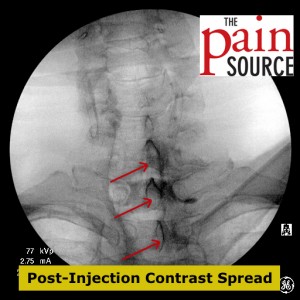
- Switch back to the AP view to make sure you are still on target from this angle.
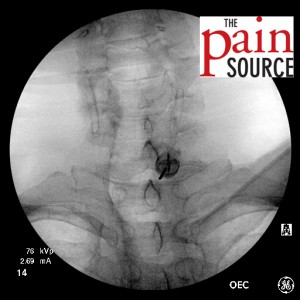
- Attach the syringe for loss of resistance. Again, I use a plain 5cc plastic syringe with luer-lock, and roughly 3cc of sterile saline and 1cc of air.




Very helpful….thanks